Alana
Over May long weekend was Theresa’s birthday! Our friend Katherine hosted a surprise dinner for her, because Theresa is always super on-top of other people’s birthdays and has the best ideas when it comes to that sort of stuff. I was disappointed I couldn’t be there (I had already made other commitments), but I made a cake for the party-goers anyhow.
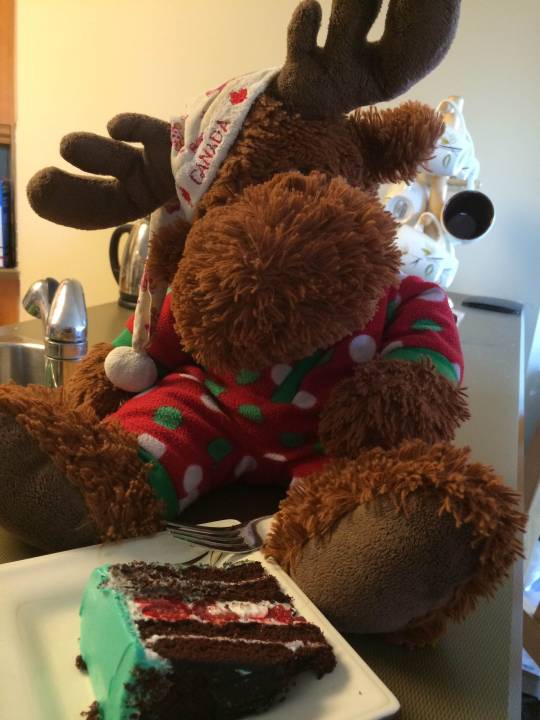
Sadly, I didn’t actually get to try any of the cake, but I heard lots of good things later! The design was also a hit – I picked the moose because of Stanley (the moose)! I would say that Stanley is a pretty important part of Theresa’s life, so naturally he attended the dinner and helped take some pictures!
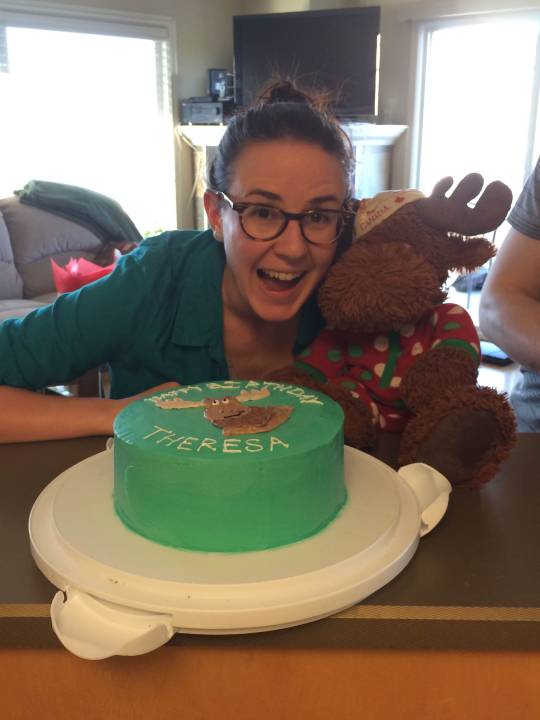
To make the design, I traced a sketch of the design onto a piece of wax paper with a sharpie. On the other side I used honey dyed blue to trace the pattern. Normally you use piping gel, but I didn’t have any on hand. The honey work okay, but kept beading up. When I went to transfer the pattern onto the cake it worked well enough for me to space things okay. It probably would have worked better had I also put the cake in the fridge first as well.
A few of the nurses have issues with gluten, so I cheated and used a box cake. Gluten-free baking is notorious for being dry and crumbly, so I glanced at Pinterest to see if there were any tips. One suggestion was to omit one of the eggs and add ½ cup of oil. Eggs often act as binding agents, so I didn’t want to get rid of one (gluten is a binder). I didn’t want the batter to be too liquidy, so I just subbed in ¼ cup of oil for ¼ cup of the water.

Chocolate Birthday Cake with Raspberries and White Chocolate Buttercream
Ingredients
- 1 Box Betty Crocker gluten-free Devil’s Food Cake mix
- 2 oz semisweet chocolate
- ¾ cup water
- ¼ cup oil
- 3 eggs
- 2 cups unsalted butter, softened
- 1 tsp vanilla
- 3 cups icing sugar
- 4 oz white chocolate
- Raspberries
Directions
- Prepare two 8″ round cake pans with parchment paper and shortening. Preheat oven to 350 degrees.
- Heat chocolate in the microwave in 15 second intervals, stirring in between, until melted.
- Put cake mix, chocolate, water, oil, and eggs into the bowl of a stand mixer. Mix on medium speed until well combined.
- Divide batter equally into two 8″ round pans. Bake at 350 for about 25 minutes, or until a toothpick comes out clean.
- Remove from the oven, and let cool for a few minutes before turning out onto wire racks.
- To prepare the frosting, whip butter in the bowl of a stand mixer until light and fluffy. While butter is whipping, heat the white chocolate the same way as the semi sweet.
- Mix in the vanilla. Add icing sugar one cup at a time, mixing on medium until incorporated.
- When the white chocolate is cool enough (to not melt the butter), mix it into the frosting on medium speed.
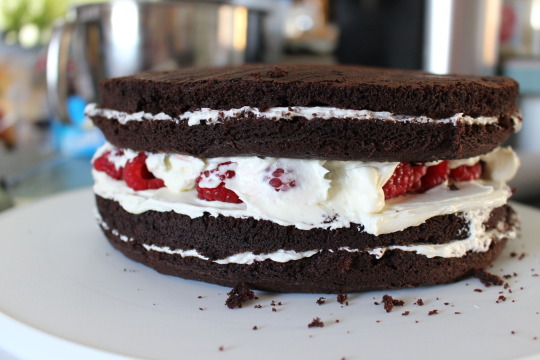
- To assemble the cake, cut each 8″ round into two layers.
- Apply a thin layer of frosting to the top of the bottom layer; place the next cake layer on top.
- Apply a slightly thicker layer of frosting, and put raspberries on top of the frosting. Fill in the gaps between the berries with frosting so that the layer is solid.
- Add next layer of cake, apply another thin layer of frosting. Add the final cake layer, ensuring that the top is flat (the easiest is the use the surface that was next to the parchment paper).
- Crumb coat the cake, put it into the fridge for about 30 minutes. Dye your frosting with the colour of your preference, and decorate your cake.
- Devour cake!
