Alana
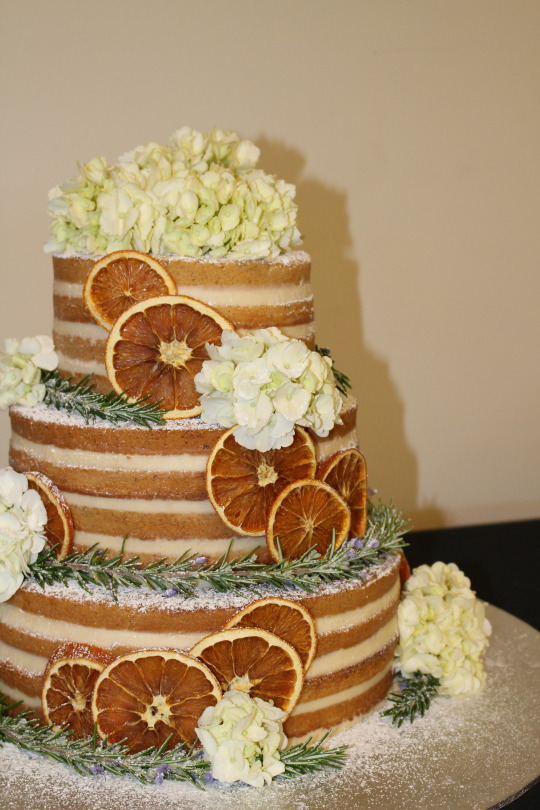
Here we go (finally)! The cake for Stephen and Ash’s wedding day! The process of making the actually wedding cake spanned the course of three days. On the 29th we made all of the frosting for the cake, on the 30th (the day before the wedding) we baked all the cake and assembled each tier, and on the wedding day we stacked the tiers and decorated the cake. It doesn’t sound too bad, and in retrospect it wasn’t too bad, but this was a very busy three days!
Warning: This post is rather lengthy (hence it’s lateness)
Day 1
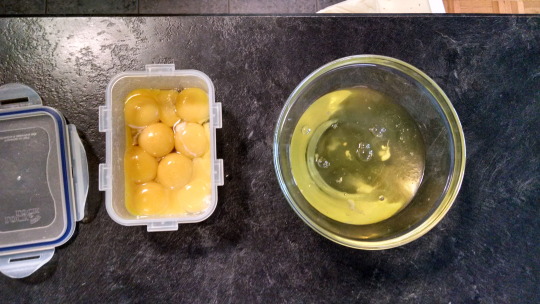
I think out of everything we did, making all of the swiss meringue buttercream was the most straightforward. We made two batches of Sweetapolita’s Swiss Meringue Buttercream. That’s correct, two batches. Yes, that is 20 egg whites.
The thing that I have found consistently with this recipe, other than that it is delicious, is that the butter is always too cold. The recipe calls for cool butter, and every time I check my butter I’m all “yeah, this butter is cool”. Then my SMBC gets all curdled and nasty looking (it looks like curds of butter sitting in a viscous tan liquid when you let it sit), and I have to troubleshoot it. When the issue is that your SMBC is too cool, all you need to do is warm it up. Based on the recommendations on The Brewer & The Baker, all I did was microwave about ½ a cup of SMBC for about 15 seconds before adding it back to the batch and continuing to whip it. Not difficult, but it takes a bit of time.
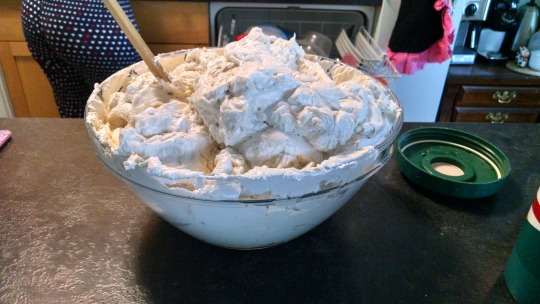
One massive bowl of frosting!
Anyways, both batches turned out very well in the end. I don’t think I’ve ever seen so much frosting in one place, ever. Theresa at one point described it as a “toilet bowl full”. Okay, T.
Day 2
This was the longest cake day of them all. It was a very smooth process making all of the cake batter (5 batches!), but baking the cakes took quite a long time. Of course we also had to let all of the cakes cool before we could start to level them and assemble the tiers. Oh, and bathe them in Grande Marnier syrup!

Party! Roopa and Michelle came to visit with Theresa and I while we baked 🙂
The trickiest part of assembling the tiers was making sure that the SMBC added the same amount of height between each layer. This is especially important for a naked style of cake because you can see all of the frosting! You also want the height of the frosting to be about half of the height of the cake layers, so that was also something I was watching for when stacking the layers.
While stacking the layers we also looked at each one individually to judge the colour, which surfaces were the nicest (to put on the top of each tier), and any damage to the cakes. For colour we knew we would be able to hide some of the discolouration with the rosemary and other decorations, or at the back of the cake. We also wanted to make sure, because of the slight variations between some of the layers, that there weren’t any really contrasting pieces right next to each other. Any damage to the cake could also be hidden with decorations at the back. Basically we wanted the cake’s face to look pretty.
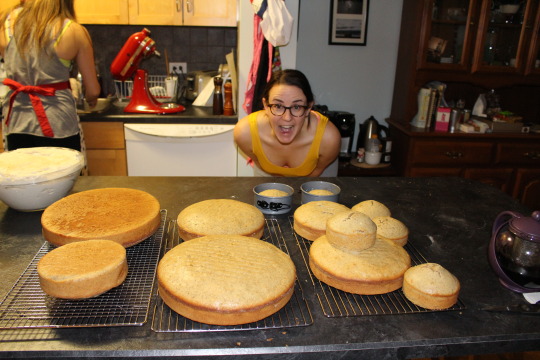
You can see some of the discolouration on the sides.
One thing that threw us a little bit, was that the sides of the cake turned out a different colour than they normally did and sadly not always an even colour. I think this is because we prepared the pans differently than all of our practice runs. I’m not actually sure what we did for the practice cakes when I think about it now, but my best guess is that we greased the sides of the pans with butter or a non-stick spray. I would say that that those cakes were all very consistently coloured, and all came out of the pans easily. For the final cake, I prepared the pans by buttering and flouring them (I keep asking myself why I did this. Really Alana? WHY?!). They still came out easily, but the colour seemed to vary a little bit with baking time and where the batter first came into contact with the pan (ie the part that was against the side of the pan when the cake rose was differently coloured).

To store the tiers, we wrapped them in saran wrap on their cake boards and put them in the fridge over night. Moving them was a little bit tricky because the bottom layers were easily squished up into the frosting, making the space between the layers uneven.
The last thing we did was plan for the next day to make sure we’d have all the supplies we needed to assemble the cake at the venue. I was at Theresa’s place from 11:00 that morning until 8:00 that evening. Holy long day Batman!
Day 3 (Wedding Day!)
It’s happening! The day of the wedding Theresa and I packed up everything we needed to assemble the cake at the venue:
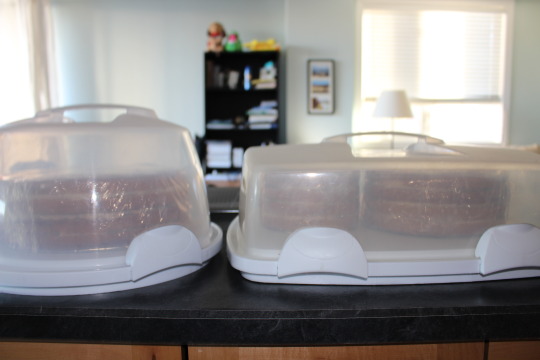
- The cake (we were able to fit the tiers into a round and rectangular cake container)
- The big cake board that the cake would be displayed on
- A turn table
- All of our decorating supplies (flowers, oranges, frosting, rosemary, decorating spatulas, piping bag and tips, icing sugar, sifter)
- Paper towels
- Scissors
The assembly was quite straightforward. All we had to do was stack the tiers. Piping the frosting between the layers took a significant while longer, because we wanted it to look neat. It involved a lot of clean up and scraping off extra frosting. We also used a paper towel with hot water on it to melt any frosting that could not be cleaned off with a spatula into the cake.

After that was all done the cake looked pretty polished. Theresa sifted a light layer of icing sugar onto the cake, then we started to add on the flowers, oranges, and rosemary. We based the orange cascade off of the one we put on the practice cake as well as the layout of the flowers. We also added several extra sprigs to fill any space that seemed to open, and to the back/sides of the cake so that I looked decorated all the way around.
It was pretty amusing at the venue because everybody kept asking us what company we were with, so we kept explaining that we were just friends of the bride and groom. In total we were probably at the venue for around 2 to 2 ½ hours (12:00-2:00sih).

By the time the cake was cut and served, I admit that I was quite drunk. So I had some cake, but I really don’t remember what our final product tasted like. I have been assured by many, however, that it tasted amazing and was very moist. The only sad part is that the hydrangeas we put in the cake had wilted a bit by the time the wedding rolled around (we showed up around 5:00). Apparently they are not very hardy flowers. Regardless, everybody still thought it looked really good and we stole a new fat hydrangea from one of the centre pieces for the top when it came time to cut the cake.
I’d say overall, success! 😀

