Roopa
SUGAR BLOWING!!!!
I can’t even express how excited I was about learning sugar blowing. I’ve wanted to do this for years, but have always been nervous about doing it incorrectly and burning things. There are also some things that you need to have before you can really even try (heat lamp, pump, blowtorch, etc.) so there is a reasonable investment before you can realistically try this out.
That said, I was able to try it out, it was as amazing as I had hoped, and I’ll be buying myself a lamp shortly.

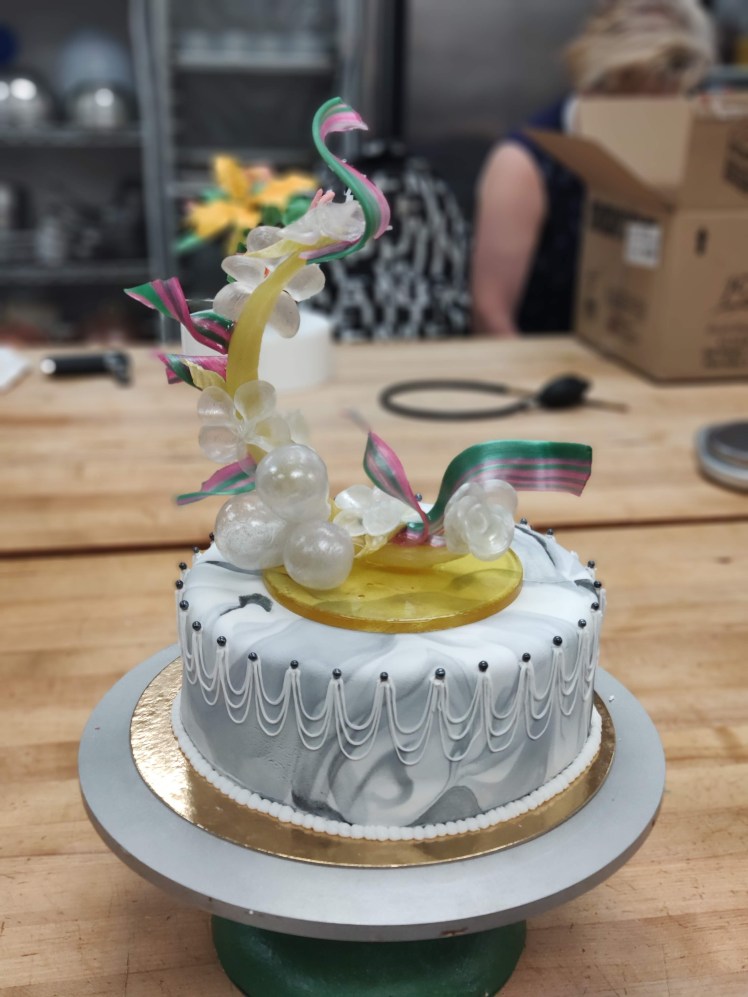
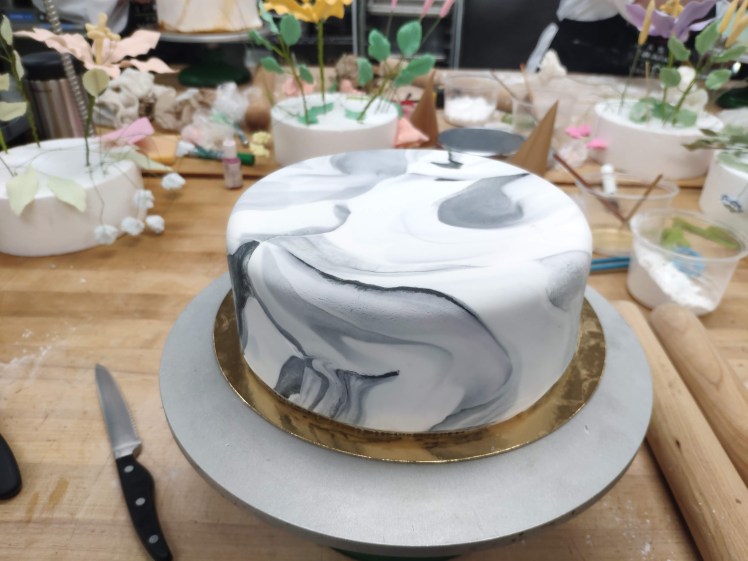
We also covered a foam tier in fondant as a base for our blown sugar, so we used that as an opportunity to work on a few more techniques. We marbled the fondant, and covered the foam in jam so the fondant would have something to stick on. The main thing to be careful of is not to push in the edges, as they are actually sharp and have no give. This gave me a new appreciation for foam, because this looked so much better than any cake I have ever covered in fondant. Oh my god. It’s crazy how flat things are when they are manufactured rather than iced.


We also did a bit of piping on this cake. This is the first time I ever used royal icing strings. They weren’t too difficult, but it was really critical to have a properly acting piping bag. Mine would periodically do something funny, and the icing would start twisting out of the bag. Also, my first layers were really thin and sometimes broke off the cake. Once I got it working properly, it was smooth as icing (ha ha). Also, don’t put your spots too close together, or you will need to make 120 strings instead of 60. Worst.

SUGAR WORK
We used isomalt for all of our sugar work. It is a sugar alcohol with sugar-physical properties. It resists crystalization, making it excellent for use with sugar work. For everything we did, we mixed an amount of isomalt (~350 g) with an equal amount of water, and brought it to 165 C (making sure not to stir at any point). At about 163 C, we removed the pot from heat and put it in an ice bath. We left the syrup in the pot for around a minute (temperature was 130 – 140 C) before doing anything else with it. For everything other than casting, we poured the liquid onto a Silpat and moved it around on there until it could be handled.


CASTING
As you would guess from the name, we just poured the hot sugar syrup into a mold. In this case, we poured it into a greased 5″ ring on a Silpat mat to make the base of our sculptures.


PULLING
This technique involves pulling the molten sugar into different shapes. This was notably more challenging than casting. This needs to be done around 10 degrees hotter than my hands can actually tolerate, so this was a continual struggle. As you pull the sugar around, it gets very shiny and silky looking which is super cool. We used this technique to make the branch, as well as to make some flowers and leaves.


RIBBONS
After dying a few pieces, we joined the strands together. We cut and rejoined the pieces a couple of times, then pulled the ribbon. You rub it on your leg near the end to get some extra length, and then work with the different pieces.


BUBBLES
Omg. Bubbles. The best.


Overall, would 10/10 recommend sugar work. It was possibly the coolest thing I’ve ever done. My sculpture broke a little bit every time I touched my cake, which was a little bit tragic, but I still loved every minute of this.