Roopa
I’m back in pastry school! How exciting! This time, I’m taking a two week cake decorating certificate program at the Vancouver Pastry Training Centre, so it’s a little less baking focused and a little more decorating focused than other classes I’ve taken. Chef Marco strongly believes that if you don’t know how to bake a cake, you shouldn’t be decorating one, so there is still a fair amount of baking technique covered in the class. For the first week, we made a different kind of cake and icing each morning, and covered a decorating focus each afternoon.
Day 1:
Cake: Vanilla butter cake (creaming method)
Icing: Italian meringue buttercream
Technique: Rolled fondant

VANILLA BUTTER CAKE (2 X 6″ cakes)
This cake utilizes the creaming method, which drives sugar crystals through the butter to create millions of air pockets. This would be considered a form of mechanical leavening. For proper creaming, temperature is critical, and often can require slight temperature adjustments while mixing the butter and sugar together.
INGREDIENTS
- 200 g marzipan
- 320 g butter, softened
- 320 g sugar
- 8 eggs (~400 g)
- 1 pinch salt
- 400 g cake flour
- 75 g cornstarch
- 8 g baking powder
DIRECTIONS
- Preheat oven to 320 F and line two cake rings
- Using a wooden spoon, mix together the marzipan and a little bit of butter. This is to smooth things out and avoid having marzipan lumps in the cake. Keep adding in chunks of butter until all of the butter has been added.
- Add in the sugar and cream together until the whole thing is light and fluffy. Note that it won’t be completely white because of the marzipan.
- Once the mixture is creamed, mix in the eggs one at a time.
- Sift together the dry ingredients and fold them gently into the batter. Fill the cake rings and bake for 30 – 45 minutes. The top of the cake should bounce back and a skewer should come out clean. The cake should be a golden brown colour.
Notes:
- Marzipan is optional, but it helps keep cakes moist for long time periods
- The cornstarch is added to further reduce the gluten content
ITALIAN MERINGUE BUTTERCREAM
This buttercream is very stable and also quite fluffy. As may be obvious from the name, the foundation is an Italian meringue.
INGREDIENTS
- 60-70 g egg whites
- 250 g sugar
- 80 g water
- 450 g butter
DIRECTIONS
- Set egg whites to whip in a stand mixer (with whisk attachment) on medium speed.
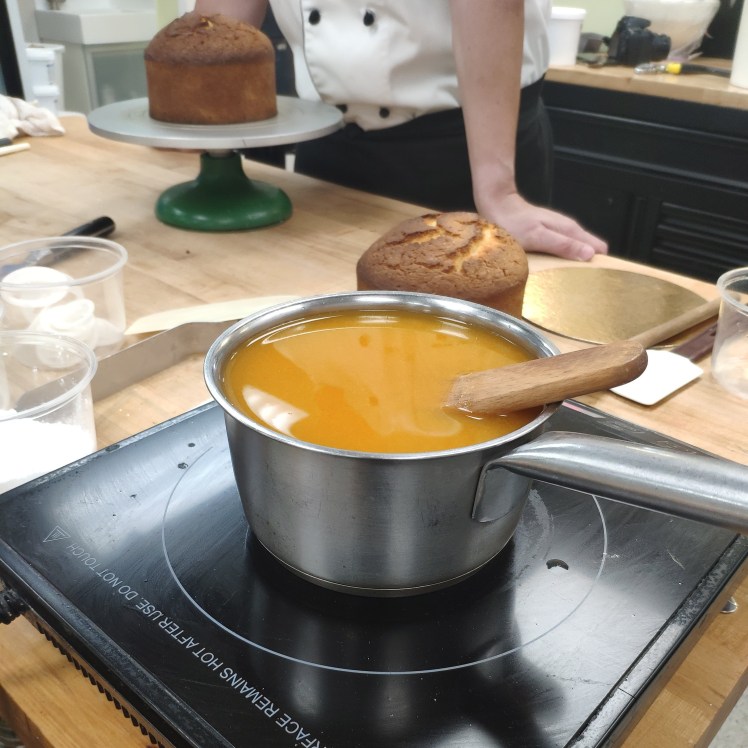
- Boil water and sugar in a saucepan until the mixture reaches 105 C. Remove pan from heat.
- Turn the mixer to full speed and slowly pour the hot sugar syrup into the meringue, being careful not to pour the syrup onto the whisk.
- Mix at max speed for ~10 minutes
- Smooth out the butter with a wooden spoon. Add chunks into the the meringue mixture one at a time and mix until silky looking.
Notes:
- If the buttercream is splitting, it is not emulsifying properly and needs a little bit of heat
- This process requires you to emulsify fat and water, which means having a similar consistency and temperature between ingredients is critical.
- This kind of icing is very light and long lasting. The primary limitation is adding a lot of flavour. You can add subtle flavours (lemon zest) but it’s challenging to add more.
- We boil the sugar and water mixture to 105 C in order to get a fairly specific density
PASSIONFRUIT SOAKING SYRUP
These usually are 2:1 liquid to sugar. We used to to coat each cake layer and extend the shelf life of the cake. You just need to combine the sugar and fruit puree in a saucepan and heat it up once.
INGREDIENTS
- 100 g sugar
- 150 g passionfruit puree (Boiron)
ROLLED FONDANT (1100 g)
I’ll be the first one to admit that I typically hate fondant, but this is actually not bad. I was actually astounded by how much better it tastes than the commercial variety. I still wouldn’t go out of my way to eat it, but I wouldn’t be as adamant about picking it off of my cake either.
INGREDIENTS
- 8 g gelatin sheets
- 80 g water
- 110 g glucose syrup
- 7 mL glycerin
- 900 g icing sugar
DIRECTIONS
- Bloom the gelatin in cold water
- Mix together the glycerin and glucose on low heat until softened
- Add the gelatin into the glucose mixture and mix well
- Create an icing sugar well and pour most of the gelatin mixture in. Combine everything (adding slightly more liquid or icing sugar if needed)
- Once combined, form the fondant into a ball and wrap twice with plastic wrap. Let it set overnight.
Notes:
- Make this the day before you need it, and let it set overnight. Do not make it earlier than that, and don’t use it immediately after making it. With gelatin, it’s best to let things set overnight.
- Glycerin retains moisture and delays the drying process
- Glucose prevents sugar crystallization. If necessary you can use corn syrup, but glucose is better.
- If you use a new bag of icing sugar, you don’t need to sift it.
- You will need to work this more than commercial fondant

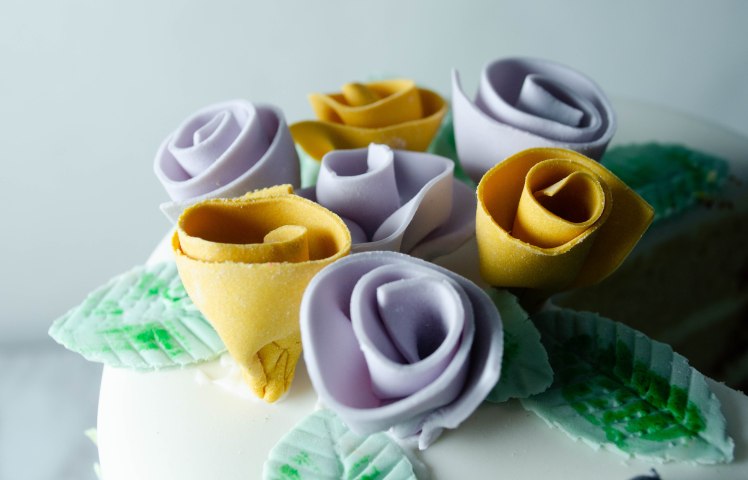
RIBBON ROSES
These are pretty simple to learn, but a little more challenging to master. Apparently once you do a few hundred of them they are second nature.
- Roll the fondant out quite thin. The thinner they are, the more realistic they look.
- Cut out a strip (~1″ x 5″). You can do a few at a time at most, because if you cut out more strips they’ll dry out before you can roll them.
- Roll the rose, doing a little pinch with each rose so it gains some volume. Be sure to keep the bottom at the same level so it doesn’t keep migrating up.
ASSEMBLY
- Cut some of the top off of the cake, and cut the rest into 3 layers.
- Ice the cake, putting the top layer in the middle.
- Smooth the icing on the cake into a crumb coat and chill the cake.
- Roll out fondant to the size of the cake (as it will stretch as you are pulling it on the cake).
- Cover cake and smooth out the fondant using a smoother.
- Cut the edges on the cake and use a spatula to push the edges under the cake.
- Make decorations!


